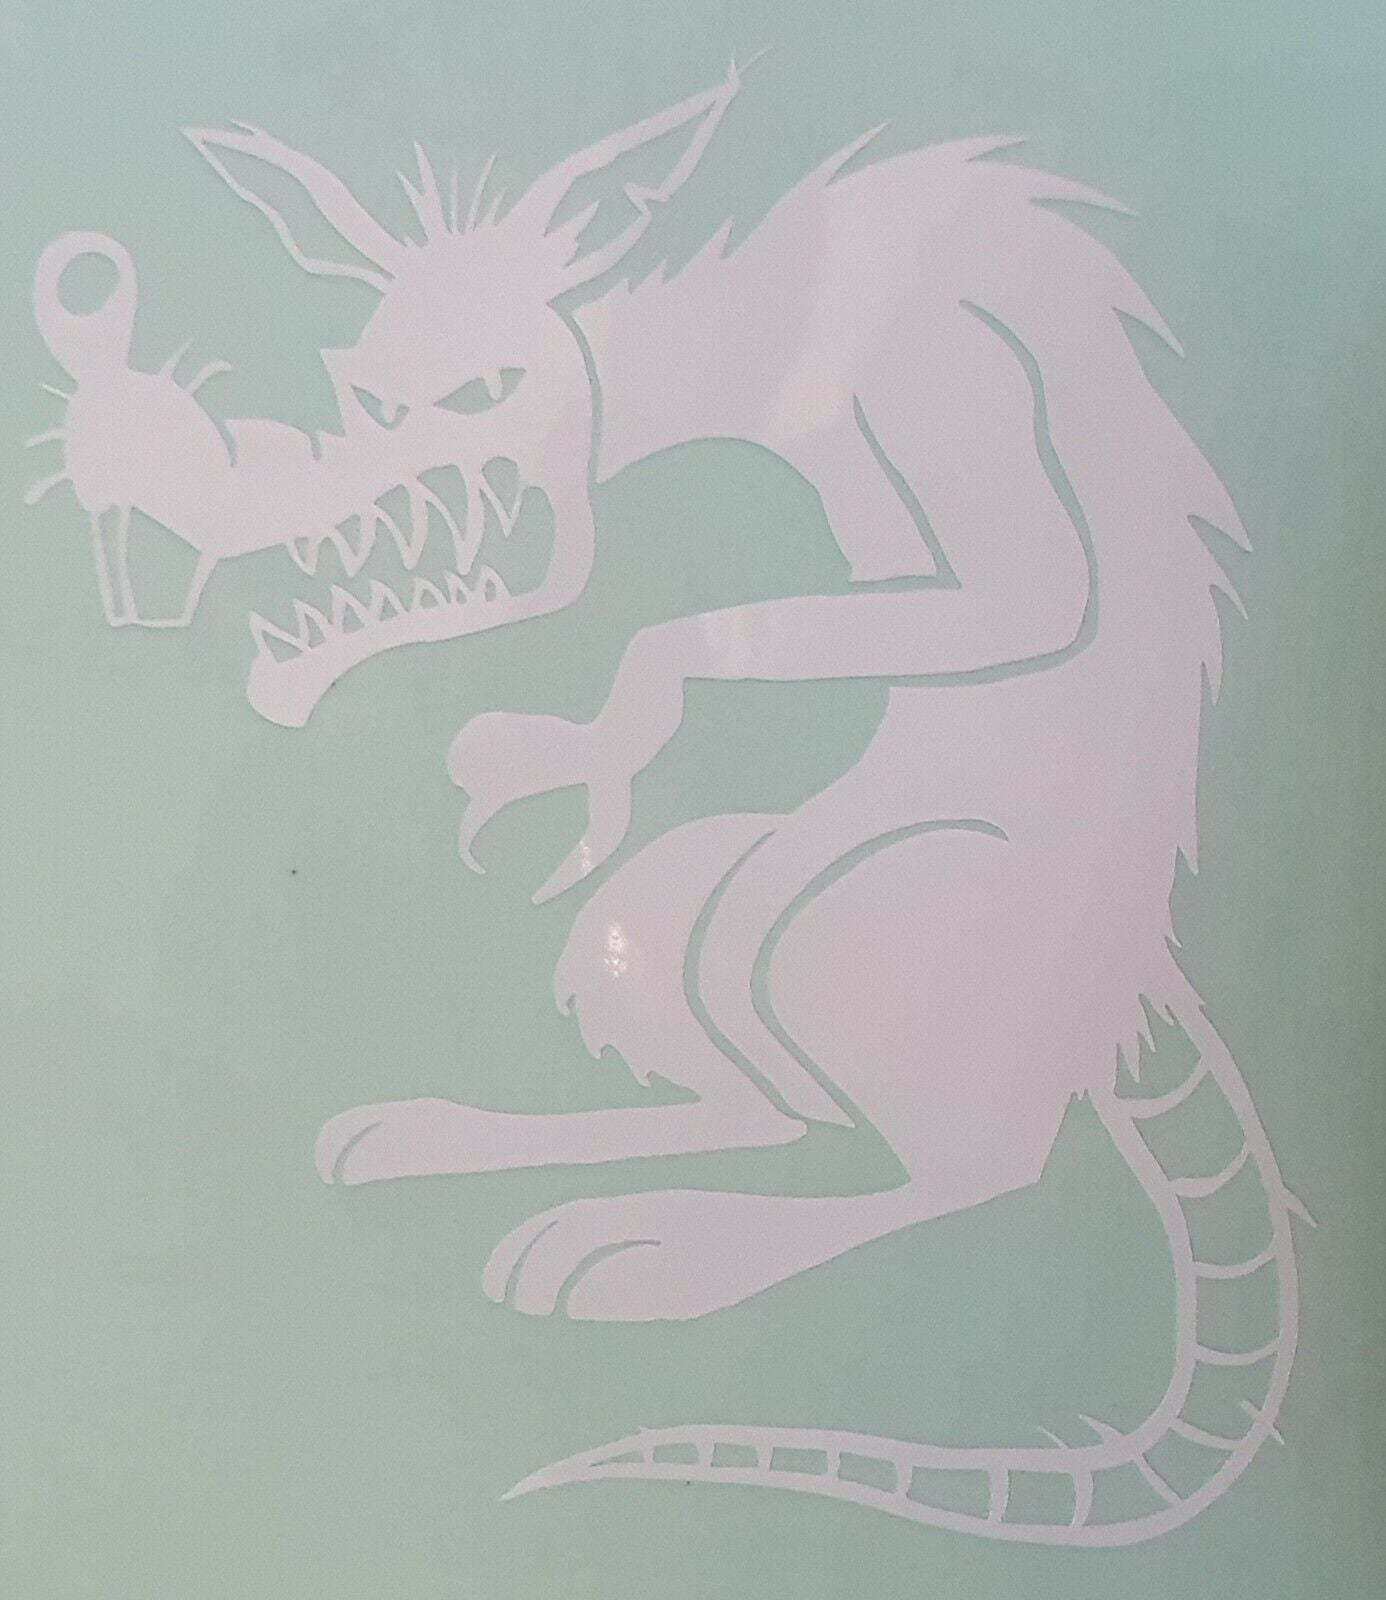
Unbranded
Rat 112mm x 100mm
Rat 112mm x 100mm
Couldn't load pickup availability
These decals are produced using 7
year premium vinyl, automotive & marine quality vinyl designed for indoor
and outdoor use. Decals should always be applied to a smooth, clean, dry
surface, non-porous surface,
o If you are happy with the default color ( white )
just purchase and pay for the sticker.
o To request one of the colors shown please contact the seller by including a note with your payment or by sending the seller a message immediately after making payment.
Red, Orange, Blue, Green, Yellow, Pink, Black, Gold, White, Silver
Only the colors shown above are available.
The stickers consist of three layers
o The top layers is
called application tape, it allows you to transfer the sticker to the surface
you want to stick it to. The next layer is the sticker itself. As you can see
in the diagram the sticker consists only of the logo itself, there is no
background or clear area around it. The bottom layer is the backing paper, the
adhesive underside of the sticker rests on this.
APPLICATION INSTRUCTIONS
- Clean surface and remove any
dirt or oils before attaching decal.
- Remove backing from decal,
leaving decal stuck to application tape
- Using the application tape,
secure the top of decal to cleaned surface. DO NOT stick entire
design down.
- Using a credit card or
similar, squeegee the entire decal surface, starting from the top of the
design. Apply medium pressure to decal surface to ensure bonding
- Carefully peel back the
application tape, pulling down at a 45 degree angle. The decal
should adhere to the window. If the decal adheres to the application tape,
stick the decal and tape back down and squeegee the design again.
-
Tip: To remove any air
bubbles under the decals after you have applied the decal to your window,
use a sewing needle, puncture the bubble and gently push the air bubble
towards the hole with your finger.
Share


